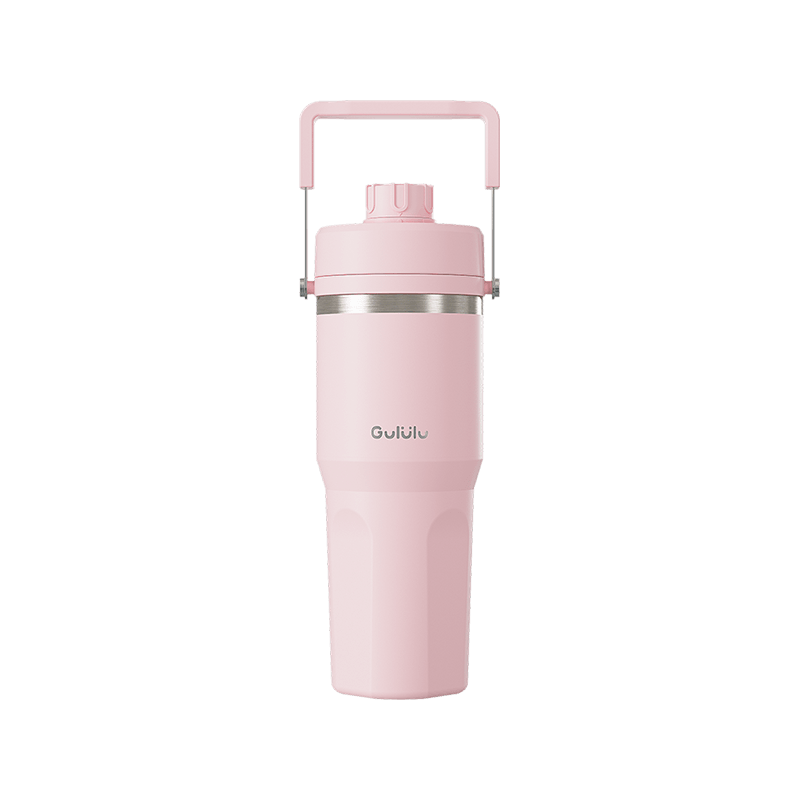
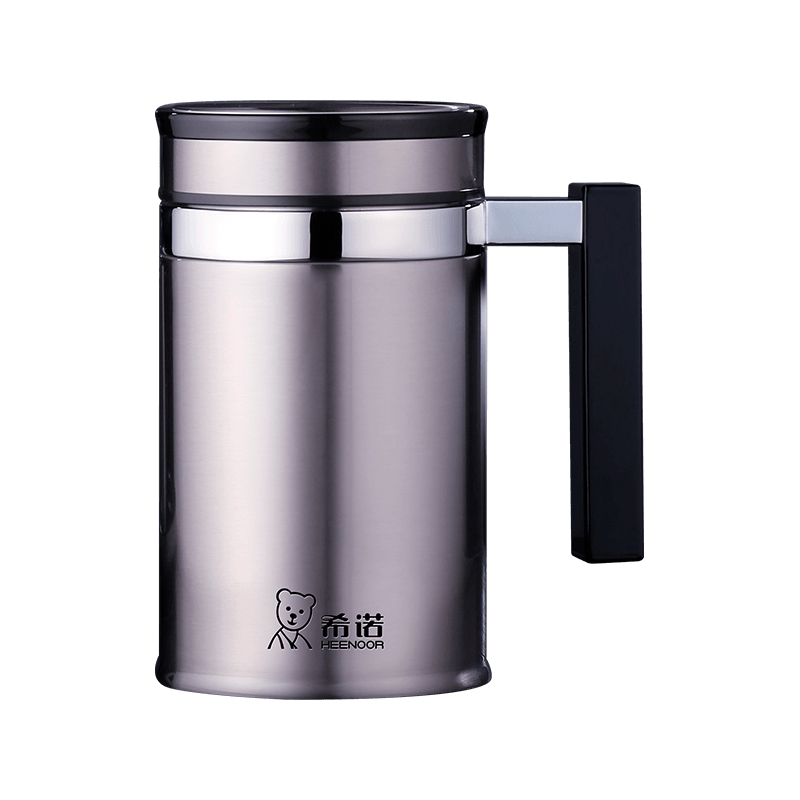
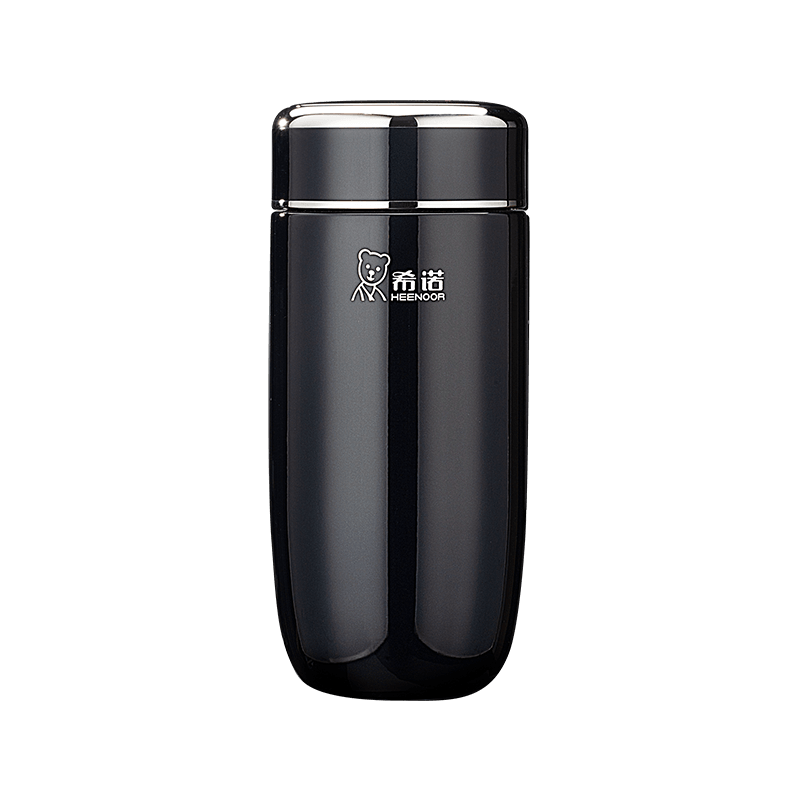
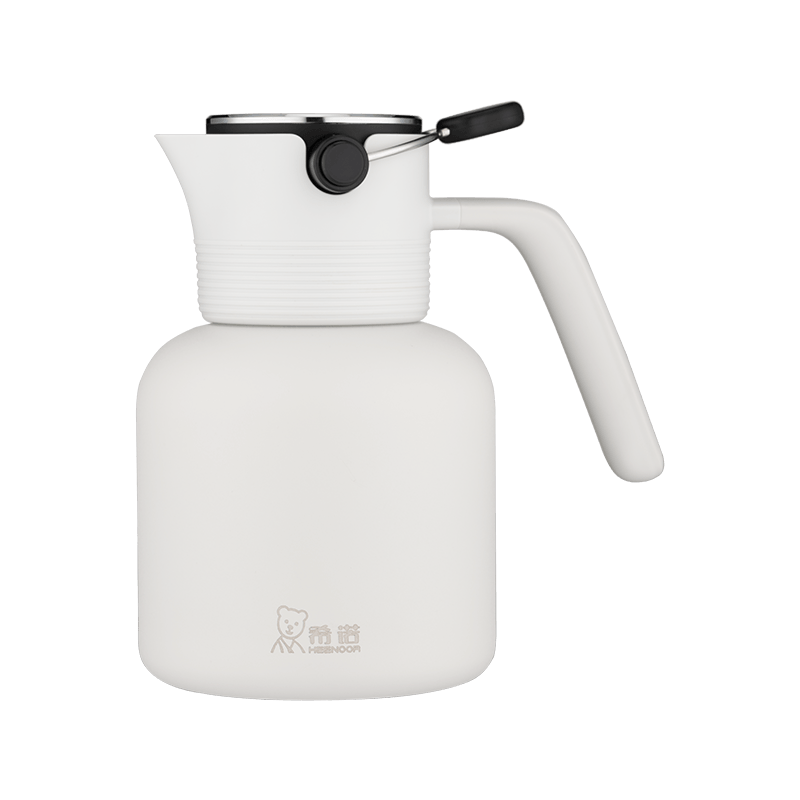
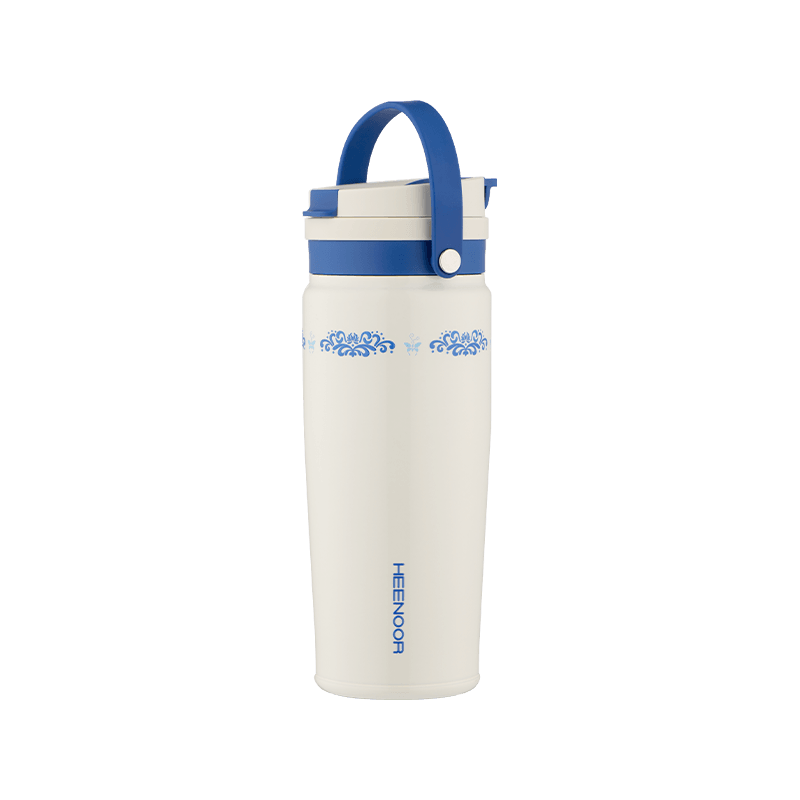
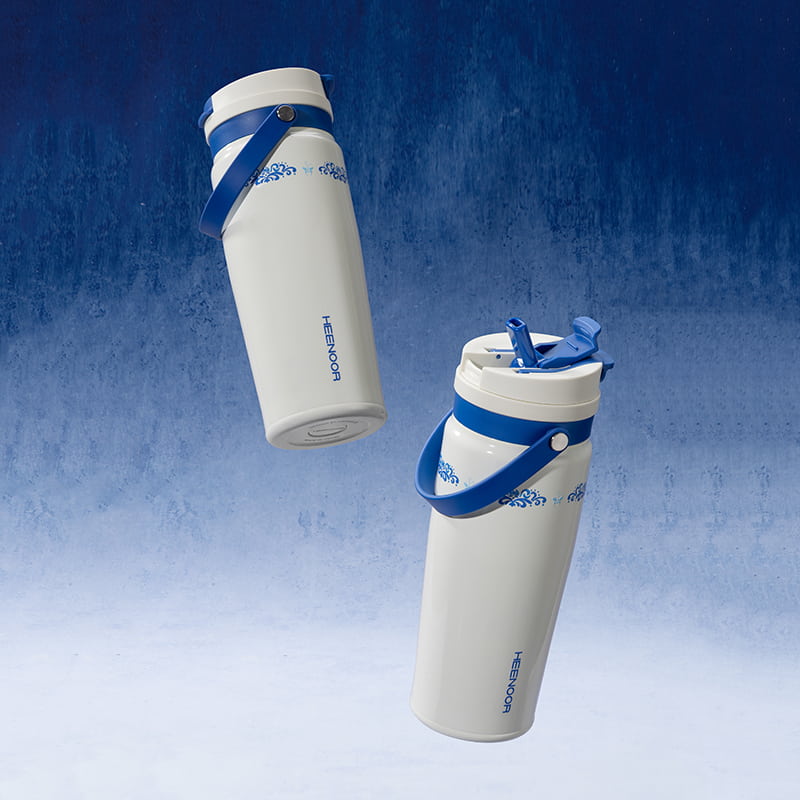
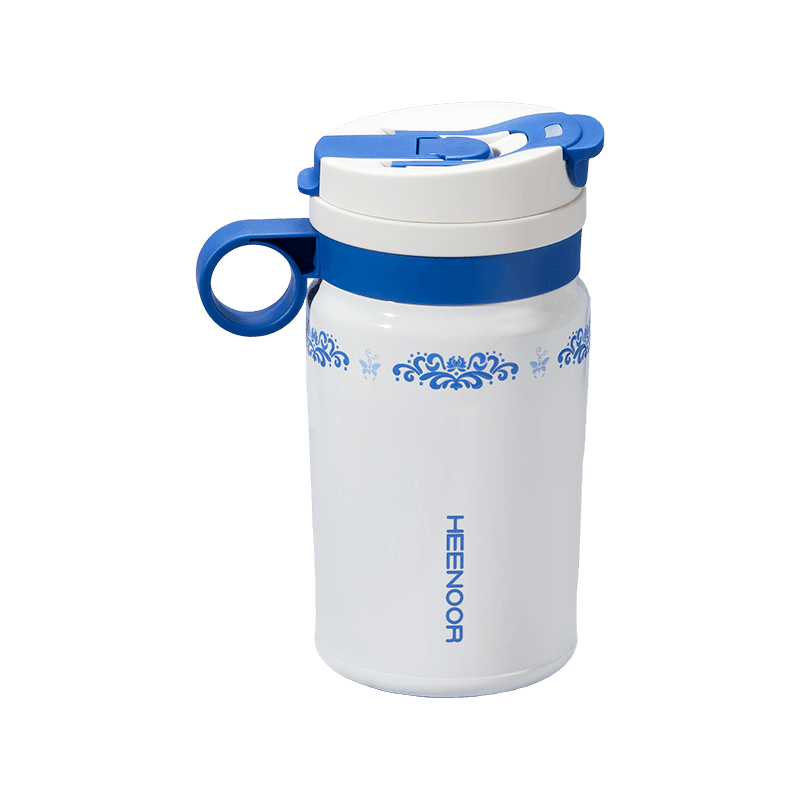
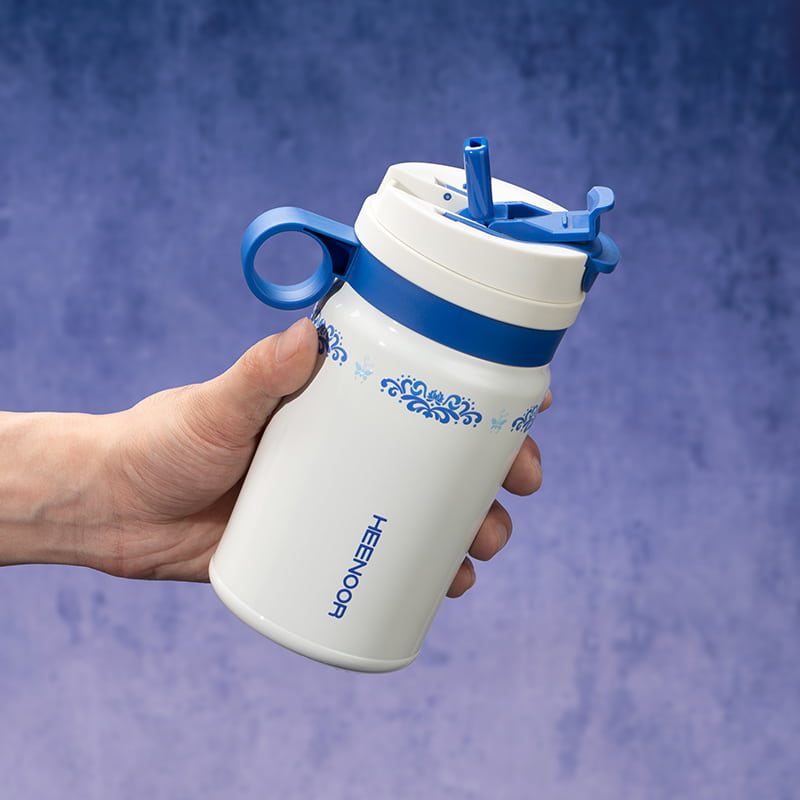
Vacuum Structures and Seam Welding: What Actually Determines Flask Reliability
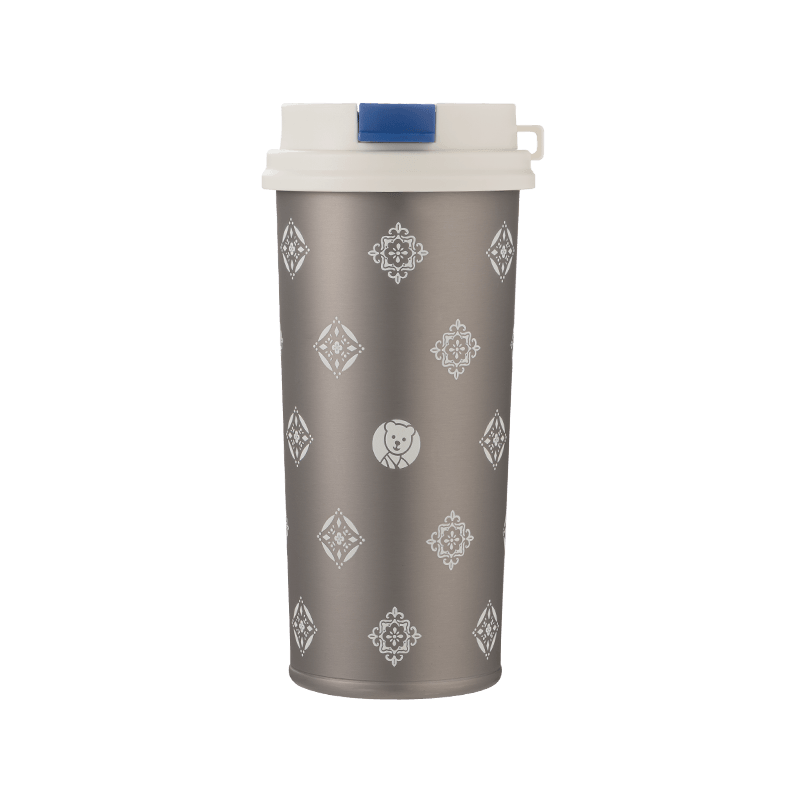
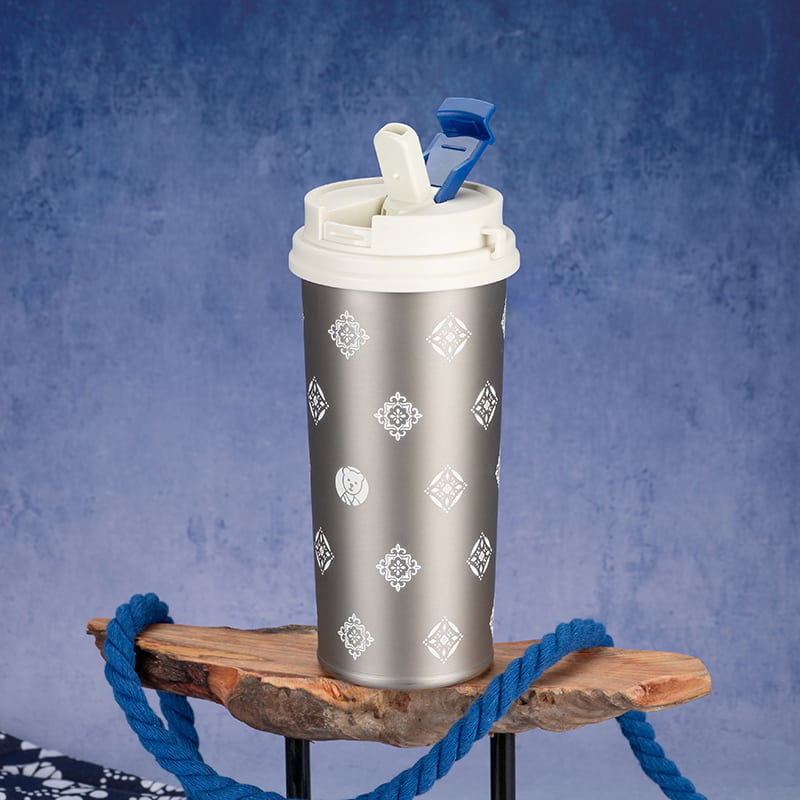
A batch of returned units from a logistics partner told a familiar story: outer shells with hairline dents, a few with visible seam separation near the base, and customer complaints about coffee going lukewarm within three hours instead of six. None of the flasks had failed a lab test before shipment. The gap between lab performance and real-world handling is where most of the technical debate around Travel Vacuum Flask and Portable Vacuum Flask construction actually lives — not in marketing copy, but in tooling tolerances, weld penetration depth, and how a vacuum gap behaves after repeated thermal cycling.
Why Double-Wall and Triple-Layer Builds Don't Behave the Same Under Load
A standard double-wall vacuum structure relies on two stainless steel shells separated by an evacuated gap, typically pulled down to below 10^-2 Pa during the vacuum sealing stage. Heat transfer across this gap is limited mainly by radiation, since conduction and convection are largely eliminated once the seal holds. This works well for a Portable Vacuum Flask meant for daily commuting, where the pressure differential the shell needs to withstand is modest and the priority is weight control.
A triple-layer composite structure adds either a middle vacuum chamber, a copper-coated radiant barrier, or in some cases a foam-filled interlayer between two vacuum zones. This changes the pressure distribution across the shell — instead of one gap absorbing external impact and internal pressure swings, the load is split across two boundaries. In practice, this reduces the risk of a single point of failure collapsing the entire vacuum seal, which matters for a Travel Vacuum Flask carried in backpacks, checked luggage, or vehicle storage where impact and vibration are recurring rather than occasional.
The trade-off is manufacturability. Triple-layer builds require tighter control over interlayer alignment during stamping and deep-drawing, and any misalignment as small as 0.2mm can create uneven wall thickness that later shows up as localized weak points under pressure testing. Heenoor Co., Ltd. has structured its tooling process around this exact tolerance range, since inconsistent wall thickness is one of the more common causes of premature vacuum loss reported by procurement teams during batch audits.
| Structure Type |
Heat Retention Behavior |
Typical Pressure Resistance |
Common Application |
| Double-Wall Vacuum |
Radiation-limited, gradual heat loss over 6–8 hours |
Moderate, suited to normal daily impact |
Portable Vacuum Flask, commuter use |
| Triple-Layer Composite |
Slower heat loss curve, more stable across temperature swings |
Higher tolerance to repeated compressive load |
Travel Vacuum Flask, outdoor and transport use |
Where Welding Actually Determines Drop Resistance
The seam between the inner and outer shell — usually located near the neck or base — is where most drop-related failures start, not the flat body surfaces. Laser welding concentrates heat into a narrow beam, producing a deep, narrow weld pool with minimal heat-affected zone around it. This keeps the surrounding steel closer to its original grain structure, which matters because overheated steel near a weld tends to become brittle and more prone to cracking under sudden impact.
Resistance welding, by contrast, applies heat across a wider contact area using electrical current passed through the joint under pressure. It's a faster process and remains common for lower-cost production runs, but the heat-affected zone is broader, and weld consistency depends heavily on electrode wear and pressure calibration — variables that drift over long production shifts if not monitored closely.
In drop testing from standard heights (typically 1.2 to 1.5 meters onto concrete, per common internal QC protocols), laser-welded seams tend to show less deformation at the joint itself, even when the outer shell dents elsewhere. This doesn't mean resistance welding is unsuitable — for many Portable Vacuum Flask products used primarily in low-impact daily settings, resistance welding remains a workable and cost-efficient choice. The decision becomes more relevant for a Travel Vacuum Flask expected to survive baggage handling, where seam fatigue accumulates over repeated smaller impacts rather than a single drop.
| Welding Method |
Heat-Affected Zone |
Seam Behavior Under Repeated Impact |
Typical Cost Position |
| Laser Welding |
Narrow, tightly controlled |
Lower deformation at joint over time |
Higher tooling and process cost |
| Resistance Welding |
Wider, more variable |
Gradual seam fatigue possible with repeated stress |
Lower unit cost, faster cycle time |
How This Plays Out on the Production Floor
None of these choices exist in isolation. A triple-layer structure paired with resistance welding can still underperform a double-wall structure paired with laser welding, depending on what the end application actually demands. This is part of why structural selection and welding method get discussed together during early sampling stages rather than treated as separate line items on a spec sheet. Heenoor Co., Ltd. runs both weld types across different product lines, matching the method to the shell design and the expected handling conditions of the finished flask rather than defaulting to one process across every SKU.
Batch consistency also depends on how well the vacuum sealing station is synchronized with the welding line upstream — a seam that looks acceptable visually can still leak if sealing occurs before the weld has fully stabilized thermally. Production teams working across large-volume drinkware programs generally build in a cooling buffer between these two stages, which adds time to the process but reduces the rate of post-production vacuum failure caught during final QC. For buyers sourcing Travel Vacuum Flask or Portable Vacuum Flask products at scale, asking a supplier how these two stages are sequenced often reveals more about long-term reliability than reviewing a single test report.

 English
 中文简体
中文简体 日本語
日本語 Español
 عربى
عربى Vacuum Flask/Water Bottle